Showing posts with label our house. Show all posts

Foto Friday: Week 26

Friday, March 2, 2012


One of my favorite things in my house is my twins bedroom. I  was so inspired by Dear Lizzy's Scrapbook Collection and CHA booth back in 2010, that I based the whole nursery around it. I made a whole wall of frames, and put together layouts using the scrapbook line with my favorite photos of the twins as babies. 


I used Rhonna Designs Washi Tape Frames on these cute little photos, since it's fitting for today's theme! Mosey on over to the other girls of Foto Friday to see what their Framed entries are! 


A Typical Monday

Monday, January 9, 2012


I had a day full of organizing, gardening, vacuuming, laundry, and chasing around 5 kids. I made Braden take a minute to snap a photo for a project I'm working on, with a peek at the chicken run I featured on hello there! house today. Head on over there for a better look of what we worked on this weekend. Now I'm off to relax and watch some College Football- Roll Tide!

Foto Friday: Week 18

Friday, January 6, 2012


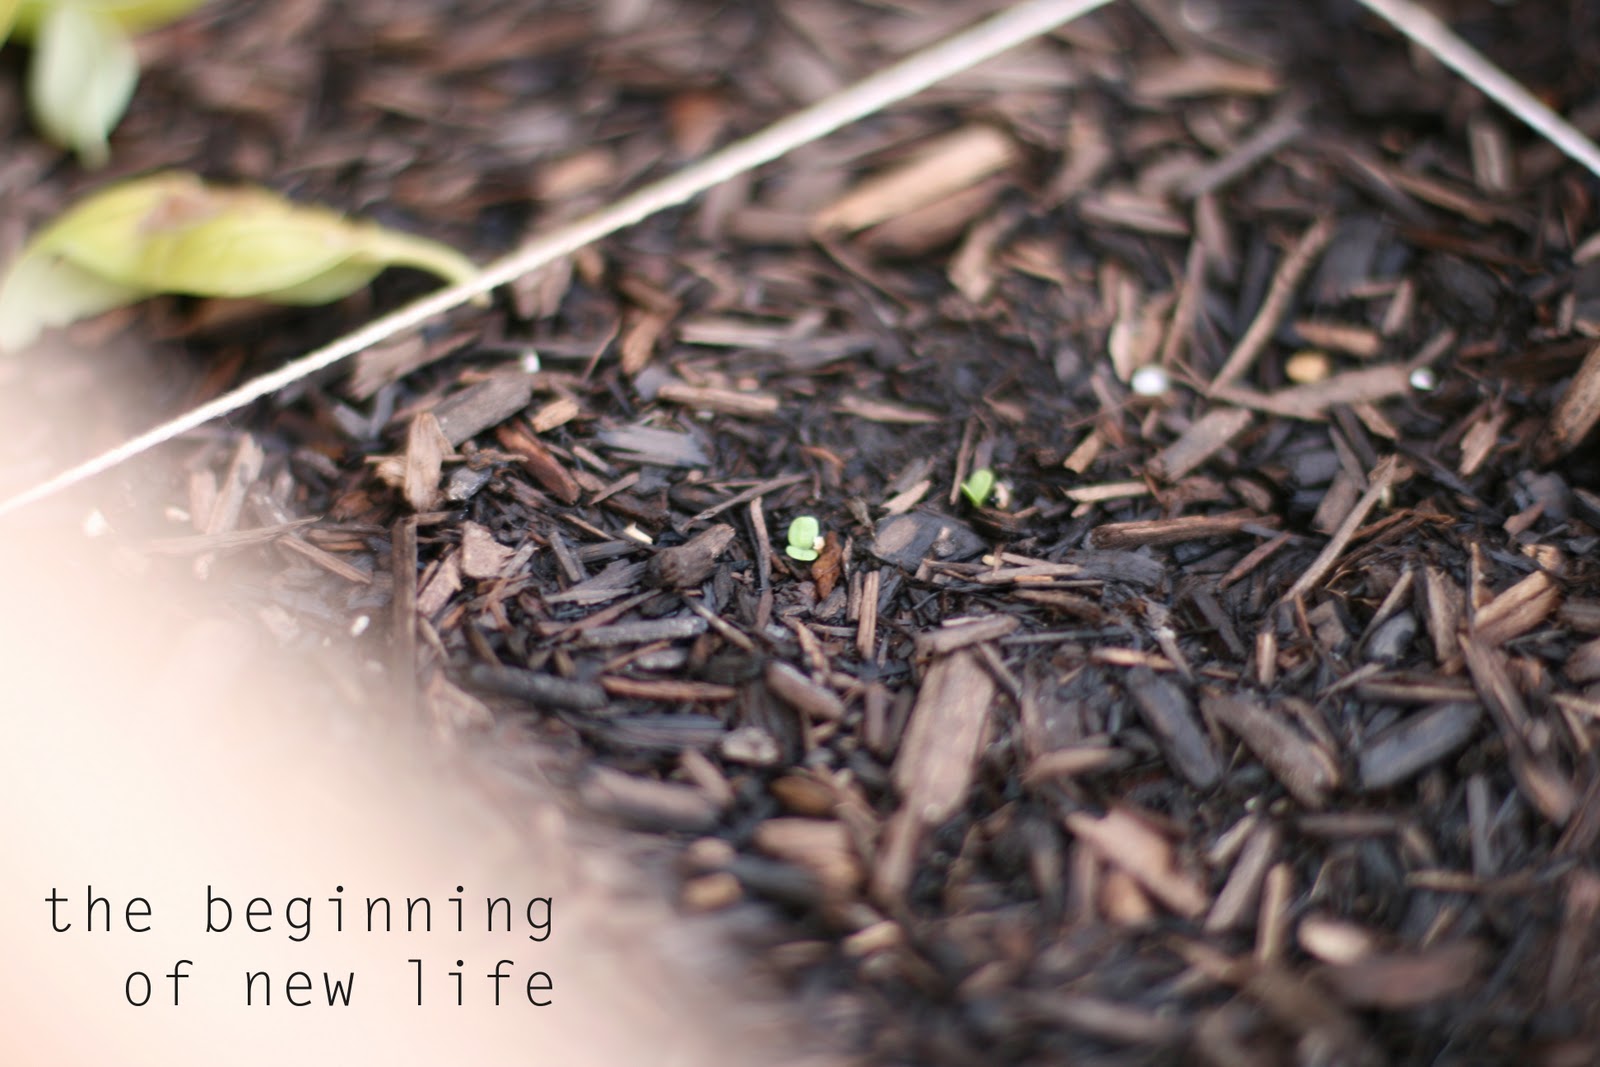
I've been delving into my new gardening obsession, and planted some seeds for the very first time into my raised beds. I started out slow with putting in lettuce transplants, which are doing phenomenal by the way, but I've been so nervous trying to grow something from a seed. Kelly sent me some seed packets and I put some seeds into the ground. As I walked out to my garden at the beginning of this week, what did I see? Little sproutlets peeking out of the soil, and my heart leapt! New life!


I don't have a macro lens, so this is as good of a shot I as could get, but I'm so thrilled about this major acheivement! Pretty soon, these will be Endive greens that we will gobble up. We've had a fabulous crop of lettuce from those transplants that we got out and pick from everyday to create the BEST salads I have ever had.


Now bounce over to the other ladies of Foto Friday's blogs to see their Beginnings posts

This week has been devoted to deep cleaning

Thursday, January 5, 2012

I've scrubbed and scoured and washed every inch of my house EXCEPT my kids rooms. I don't know if I have it in me to take it on today- but I must try since we break ground on our chicken coop TOMORROW! Squeee! So thrilled to finally start this, since in no time our chickens will start laying eggs.


I've drawn up plans and Braden is getting all the supplies together so we can get this thing in gear.


Until then though, I will try and find the strength to finish the last room- but oh! I have the best thing to share. I gathered up a TON of homemade cleaning recipes while I was on my cleaning rampage and shared them all on the hello there! house blog! Head on over there for a printable PDF that you can stick on your fridge to have handy!

Team Tuesday: Garden Art

Tuesday, November 8, 2011

I've finally started my garden here at home, and I couldn't resist adding a little bit of pretty to all my potted herbs. It just adds some flair to the typical everyday plant. 


For these fun little garden flags that I've used to label my herb pots I used the Grateful Glam Background Kit and the Honeycomb Background Kit.

I printed a bunch of backgrounds out on cardstock with the herb names in Campbell Font. Then I ran it through my mom's laminating machine she bought like 10 years ago, and glued them to some skewers to mark off the plants. Easy Peasy Lemon Squeezy.

Don't you just love how all the Rhonna Designs Kits work together so well? I'm working on my Thanksgiving decorations this week so I'll some more fun Grateful Glam to share!


$10


$8

Check out more Team Tuesday Entries on the Rhonna Designs Blog!

Happy Haunting Day Nine: Our Second Annual Pumpkin Carving Party

Monday, October 24, 2011


It's done! My invitation for our 2nd Annual Pumpkin Carving Party is finished {yes, one week before the event. What?} and the FB page is created and the neighborhood invitations have been passed out.  I pinned this invitation on my All Hallows Eve Board a while ago and I made my invitation with the same background design

"Pointer" Element used from House of 3, Fonts: Campbell, Modern No. 20, Odalisque, Bellerose,  
& Berthold Walbaum Book Italic


I printed them out small and tied the invitation "tags" to mini little pumpkins I sprayed white and glittered. I also couldn't resist adding a little Spooky Junque flair to them for our neighborhood invitations. 


Happy Haunting Day 6: Banners & Lollies & Poms, Oh My!

Wednesday, October 19, 2011

It seems I keep coming back to my stand-by paper crafting decorations- banners, flags, lollies, and tissue paper poms.

All of these things are all easy to make, they are cheap, they are versatile, and they add so much festivity to your space. For me, more is more so I've slathered every inch of my living room with these paper crafts and they make the whole space sing with Halloween happiness. Change up the sizes, the colors, the materials; and you have a whole new look for each holiday! Let's go on a little tour, shall we?


The very first thing that greets people when they come in my door is my two black hanging pom poms, some Spooky Junque Banners, & some handcut glittered bat banners. I just found a bat template on Pinterest, traced & cut them out of cereal boxes, spray painted them black, then glittered them with Martha Stewart black glitter. Hot glue them on some Black Divine Twine and you have a lovely little  batty banner. 


I have three jars with various flags in them surrounded by pumpkins on my computer desk right when you walk in my door


Here is my giant metal board above my little white couch in my living room. Notice the tissue & newspaper pom pom "flowers" at the top. The "All Hallows Eve" Banner I made two years ago (I think) and the burlap candy corn painted banner was made last year. The candy corn rosette magnets were just made by hot gluing some yellow & orange crepe streamers around a doily, gluing some Spooky Junque accents on the front, then I glued the whole thing to some old alphabet magnets I had hanging around on my fridge.


And here is the chalk board right next to the metal board.


My black console filled with craft supplies sits underneath the Printable Art I shared yesterday


On my console in my living room are wine glasses filled with moss & mini skulls for Witches Brew


These skulls on a cake plate sit right next to the witches brew glasses


Newspaper & book page lollies with some Spooky Junque accents


These candy filled apothecary jars sit on my piano, tagged with some Quatrefoil Background & Spooky Junque Border tags


Outside my door I have a pumpkin sitting in a hanging planter with some festive little flags poking out


In front of our bay window I stuck a chair I repainted and reupholstered and filled it with pumpkins, a chalk painted pot, and some more lollies & flags


And I even laminated some Spooky Junque Banners to hang outside, so they are protected from the minuscule chance of rain we may have here in AZ. 

So there's the front part of my house. There's so much more to share in the kitchen area, so I'll show & tell next week! 


Team Tuesday: Quatrefoil Love

Tuesday, September 6, 2011


When I saw the Quatrefoil Kits in the Rhonna Designs store,  I felt a surge of happiness- it's absolutely fantastic! And $4? Seriously, there is so much you can do with this thing. The first thing I thought of was home decor. If you've ever been to my house, you know that I have a tendency to decorate everyday like a party. I have banners, pom poms, signs, & flags all over the place all the time; and I think it adds a little festivity to the "glamourous" life of being a mom of 5.  Happy home decor just makes me feel good. So that's just what I set out to make.

I grabbed a couple of small mason jars and filled them with flour, then grabbed a big old crusty mason jar and spray painted it platinum. I tied some Divine Twine to them and printed off some of the Quatrefoil tags really small and punched them out with my scallop punch. 

Then I made the flags. I added some inspirational words to them, added a graph paper background, then just printed them out & cut! I hot glued them to skewers and made some little mini flags to fancy them up. More scalloped round tag punches were hot glued on, and a tissue paper fringe pom topped a few flags.


How fun are these? They are now sitting on my computer center and remind everyone who walks in to stay inspired & creative. Oh, and don't you love the frames I used on the photos above {wink}?


$5


Check out Rhonna's Blog to see some other Team Tuesday entries!


Presenting our New Master Bathroom

Wednesday, April 6, 2011

It's finally done! Actually, I still need to go buy some light grey towels today, but everything else is completed.

Remember the before? Drab, dreary, blandly beige. Blegh.


Now look how fabulous!


Seriously, the pictures don't even do it justice. You must come see it in person. I just love it.

The Run-Down:

First we took off all the old baseboards and everything off the walls and the doors and drawers off the cabinets. Then he installed the beadboard, new thick baseboards, and chair rail on top of the beadboard. He encased the window in trim then sprayed the beadboard, baseboards, & cabinets with the white paint. After that dried we taped all that white stuff off and rolled out the grey paint with a roller (when I say we I do mean we. I totally helped through this whole process. Aren't you proud?) and he sprayed the cabinet doors & drawers in the garage. We put everything back in its place, added the new hardware (found at Hobby Lobby), and I got the decor pieces from Ikea.

Source: ikea.com via Rosemary on Pinterest


Source: ikea.com via Rosemary on Pinterest


And here's my wall art I ordered in the Ikea frame I love so much. I decided to keep it black to mix up the colors in the bathroom. It's a nice mix of white, grey, brown & black that keeps it un-matchy.


All in all, it was a pretty fast and inexpensive job and it really makes a HUGE difference. I never want to leave my bathroom now.

Inspiration to Creation: Project 2

Thursday, March 31, 2011

Source: google.com via Rhonna on Pinterest


I saw this on Rhonna's Pinterest and instantly fell in love. I thought it would be perfect in our new bathroom- kind of a happy- waking up-getting out of the shower type of saying but it didn't really go with my color palette I wanted in there, so I remixed it into this happy little poster.


I ordered a 16 x 20 metallic print from Persnickety- which is awesome because they are printed with good old fashioned chemicals, not ink; so they are waterproof and won't get ruined no matter how steamy the bathroom gets.

I'm going to go to ikea this week and pick up this frame and paint it white to match my new cabinets that were just painted today

Source: ikea.com via Rosemary on Pinterest