On The Ninth Day of Christmas

Thursday, December 22, 2011

My true love gave to me.............


I've got some fan-taaas-tic cookies to share with you  guys. I've been been searching high and lo for the best gingerbread cookie around, when I spotted THIS:


Are these not the sweetest gingerbreads you've ever seen? And the glitter? It's just perfect. The recipe is from Sweetopia, converted to US measurements


I'll be showing how mine turned out tomorrow!


On The Eighth Day of Christmas


For Olivia's Winter Wonderland class party, I was in charge of coming up with an activity for the kids to do in between their story time and the rotating centers. After about 2 seconds of thought, I decided on Christmas Carols. I LOVE Christmas carols. Someday I want to have a horse drawn hay-ride to go around and sing carols with hot chocolate, but now I must be content with 50 kindergartners singing and jingling their jingle bells I brought them.


Next year I'm considering having a neighborhood Cocoa, Carols, & Cookies party, so any of my neighbors, feel free to weigh in if that sounds like a good idea!

On The Seventh Day of Christmas

Better late than never, right? I fell off the blogging wagon Tuesday trying to get these dang skirts done! They are so easy, but a little time consuming and any time around the holidays is non-existent in my opinion. So, without further ado........


I have made this wonderful pattern from Grand Revival before, and I saw christmas twirly skirts at some boutiques this fall with tulle in them and I knew I had to make them for the twinsies.

Evelyn was my reluctant model this morning- she loves pretties in her hair and twirlies on her hips, but she DOES NOT like Momma taking pictures of her. Especially when she just wants to play in the mud by the chickens : /

Anywhoo the skirts are super simple, just follow the Grand Revival directions and then grab a spool of 5 or 6" wide tulle, sew a straight line the middle of a few yards of it and gather. Once you have a strand of gathered tulle, just fold hot dog style with the seam on the top and pin between the layers before you sew them together. Instead of hemming the bottoms of the ruffles, I cut them with pinking shears- makes it cute and shabby. And since I had a plethora of scraps laying around, I made the strips patchwork instead of a solid fabric. More time consuming, but really fun and "free". Don't you love that? Cuter and cheaper is worth extra effort I always say!


Ring in the New Year with some new Portraits!

Wednesday, December 21, 2011

How about we start 2012 off right? Let's talk Mini Photography Sessions- I love them because you get a lot of bang for your buck, awesome photos to display on your walls once you take down your Christmas decorations, use them for your facebook profile, put them in your 365 scrapbooks, send them to relatives since you never got around to sending out those Christmas cards {blush}, there's so many reasons to get some new photos taken for New Years! And now, here's the perfect opportunity


My sister Eryn & I are now offering up EIGHT mini sessions each day. The sessions will be held in my parents fabulous backyard in Mesa {2332 E. Emelita Cir. Mesa, AZ 85204) with our own personal flair and props. We want some fun, festive people to come have some fun with us next Friday and get some photos taken, for just $50! Eryn goes back to Utah in January, so we will be offering more mini sessions throughout all of 2012 in both AZ and UT! Keep checking my blog for a heads up on all our holiday sessions, senior photo specials, family sessions, and more. To reserve your session, visit our website at heirloom-photo.com


On The Sixth Day of Christmas

Monday, December 19, 2011


It's Christmas Card time! Actually it's a little late for Christmas Cards, but again I am a procrastinator so I've waited 6 days before Christmas to feature them. It's better late than never, right? Of course, Rhonna Designs has got you covered with the most AMAZING card designs this year


{Look familiar? I used this kit for the 12 days of Christmas Header!} 


It's so easy to have a fabulous Christmas Card with these kits. Each kit come with a few different photo layout designs, a newsletter design, address wrap labels and more! You can have a Couture Christmas Card Suite look for just $15!


And if you are trying to save your pennies this year, Rhonna has even designed a FREE Card for you to try out! I'm guessing you'll fall in love and want to try all kinds of Rhonna Designs Products one you give it a shot and see how easy it is! 


On The Fifth Day of Christmas

Sunday, December 18, 2011


For those of you that have signed up for the Rhonna Designs Newsletter- you probably already know about the Free Gift she was giving away when you purchased the new Chevron Tool Kit or the Christmas Junque Flags & Tags Kit {and if you are not signed up, you should do that today so you know when all the awesome new products and discount codes are given out!}


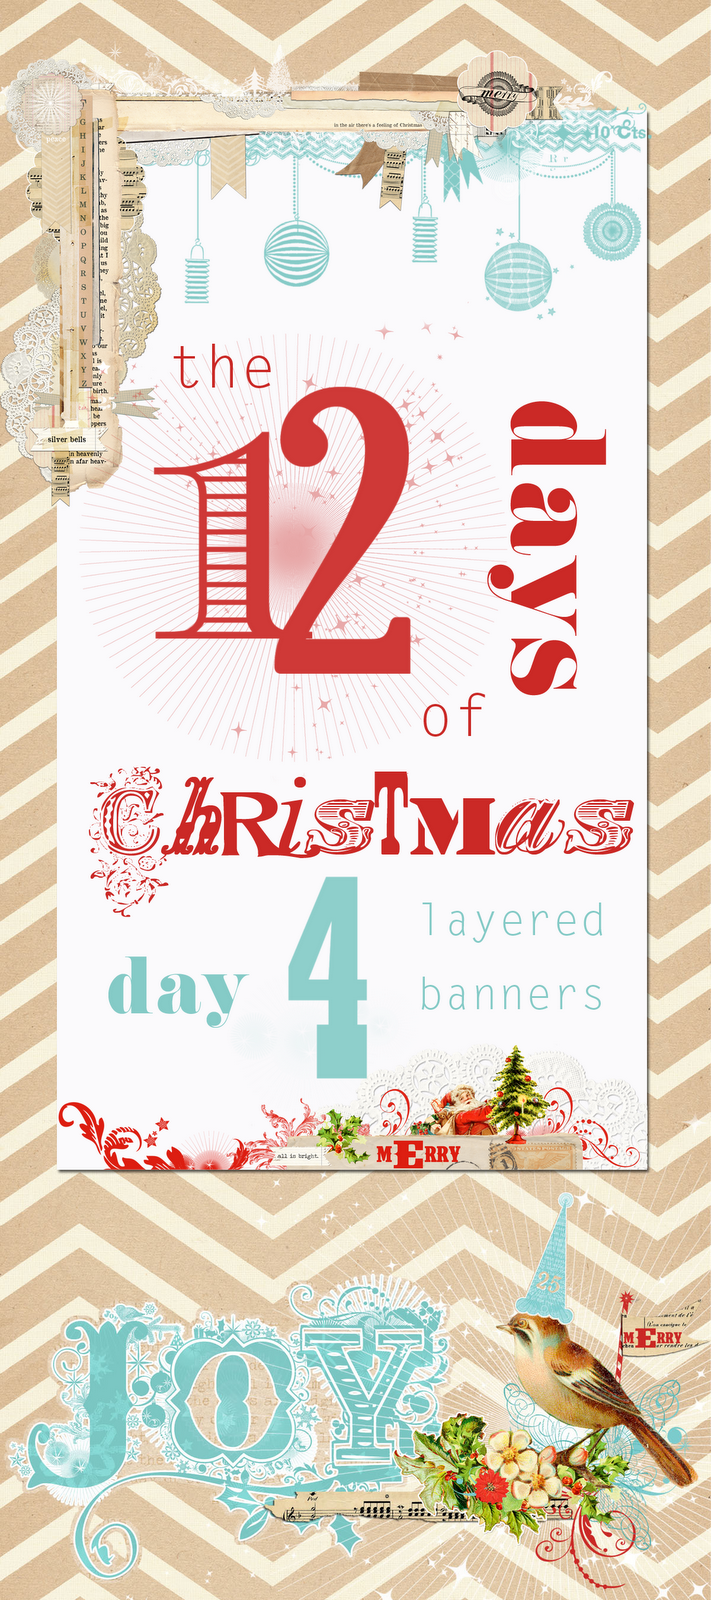
I fell so madly in love with the Printable Art that I just HAD to make more, so I used all of the Christmas Kits from Rhonna Designs to layer and mix and match to get 4 more pieces of art to display on my wall


I started off all my designs in Photoshop as an 8.5 x 11 layout with a white background, then added a Christmas Junque Collage Frame as the base.


On the Merry Christmas art I put one of the Christmas Junque Background with that delicious Quatrefoil pattern as a subtle piece on top of the frame. 


Next I picked out one of the Christmas Word Art Brushes and stamped the center- I adore the different languages Rhonna put in there!


Once my word was chosen, I grabbed bits & pieces from different kits but a TON were from the Christmas Junque Pieces- there's so much to choose from! 


And that's it! On this art, I did layer some words and some Number Junque brushes for some oomph. The more you add, the better it looks! 


So hurry and grab your Free Gift and make your own custom Holiday Wall Art! 


On The Fourth Day of Christmas

Saturday, December 17, 2011


One of my most favorite Rhonna Designs digital kits are the Christmas Junque Backgrounds


I especially love the design with the junquey banner going across the page. This paper inspired me to do a similar banner for my piano

I just layered book pages, some Christmas Junque Background paper, some printed out Christmas music, and random bits of stuff I've been stashing. There's kraft snowflakes, some glittery poinsettias and leaves, scalloped punched kraft paper & gold glitter paper and even some tickets that I stamped with some Christmas Art Brushes 


Foto Friday: Week 15

Friday, December 16, 2011


We Watsons are on a new eating kick-eggs. Which is good because soon the chickens will be laying and we'll have eggs coming out of our ears.  I've seen all kinds of egg variations and this one is so original and oh-so-delicious: Scrambled eggs with pepperoni, broccoli, potatoes, italian sausage, bell peppers, and cheddar. Mmmmmmmmm


Do you want to check out the other Foto Friday girls' tasty morsels? Me too. 

On The Third Day of Christmas

My true love gave to me ........


I saw these adorable ornaments on Miss Mustard Seed a few weeks ago and knew that they would be perfect for my tree


They are little mini Chalkboard ornaments with glittered edges! How perfect, right? So, I moseyed on over to Michaels and grabbed some cute little wooden plaques for only $0.59 a piece!


I had this fabulous Vintage Gold Paint from Martha Stewart I bought at Home Depot {I think it was around $7} and at Michaels I grabbed some matching glitter {hers is hands down the best glitter on the market} and headed home with my treasures.

I had some extra Chalkboard paint on hand, but if you want to order some great stuff, you can order Annie Sloan's chalkpaint from 'Round the Coop in Graphite . With 3 coats, it acts like a chalkboard!


The best thing about these is that they are the EASIEST and FASTEST. You simply:

1//  Spray or brush on the chalkboard paint on the front of the ornament. 

2//  Once the chalkboard paint is dry, take a small brush and apply the gold paint on the edges of the plaque {don't worry your little head about it being perfect}. 

3// After your first coat of paint is dry apply another thin coat of gold paint and shake glitter on while still wet. 

4// Once the glitter/paint is dry, just staple some twine or ribbon to the back of the ornament- then you can either leave the chalkboard blank or write whatever you want on the front!


I made one for each of my kids and wrote their names in chalk. I thought it needed to stand out a little more so I went over my chalk outline with white paint. I really really love them- I want to make some for Braden & I as well!


On the Second Day of Christmas

Thursday, December 15, 2011

My true love gave to me ......


As most of you know I am a Master Procrastinator- so I have yet to snap any of my own family's Christmas photos. Finally, I whipped out my camera and took a couple shot of just the twinners in hopes I can possibly get some decent pictures of my kids if separated- together is just mass chaos.


Also, my brother & sister in law and my very first niece came home for the holidays! She is the stinkin sweetest little thing, I just love her to bits.


The kids all got Christmas jammies from Grandma & I took my parents Christmas card photo with all their grandkids. I won't show the card until my mom gets hers mailed out {I used Rhonna Designs Evergreen Card Kit and ordered from Persnickety Prints} but I WILL show you my favorite goofy picture


As you can see Poppa was THRILLED to be sitting with 8 kids trying to get a decent picture taken.


On the First Day of Christmas

Wednesday, December 14, 2011

My True Love gave to me.....


Last year on the day after Christmas, I cleaned out Target of their most fabulous shatterproof ornaments and I've hoarded them to make the girls' fanciest holiday headbands of all. Olivia wore hers yesterday at her kindy Winter Wonderland party. 


It was also pajama day at school so I had my mom whip up some Christmasy jammie pants and a quick and easy little scarf for her to wear. Don't you just love Grandmas?


I just wrapped a plain white plastic headband with red satin fabric strips, then used this ruffled flower tutorial from Sew Mama Sew to make the red, green, and white lace flowers. Then I topped the whole thing off with a big fat, glittery Santa ornament hot glued to the center. It's a little loud and obnoxious, but I wouldn't have it any other way.